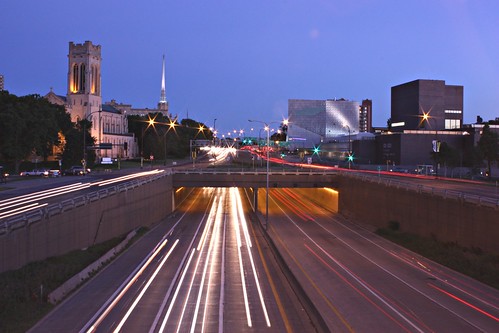
Showing posts with label Experiments. Show all posts

Tuesday, August 2, 2011

A Little Night Photography

After the lightning post from earlier this week, it reminded me I had taken some other night time photos.

Streetlights
Well, I guess was technically from the very begnning of what is called the "blue hour," but its close enough for me because it was low light and the full moon was out.

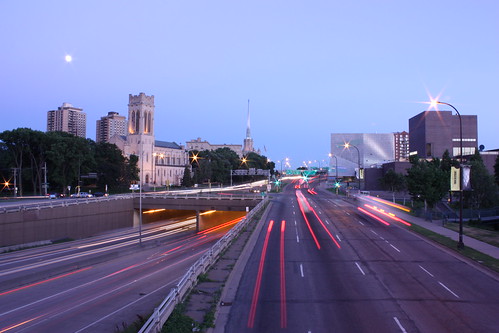
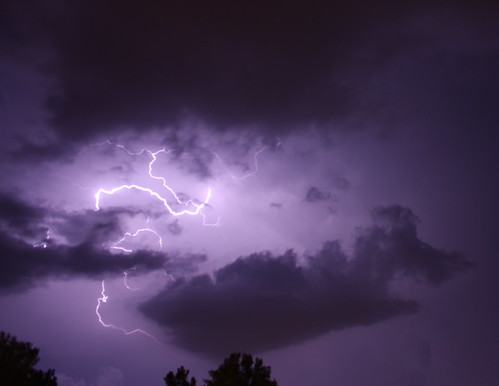
The Tunnel at Night ~ 193/365 ~ 2011
All of these photos were shot from the Irene Hixon Whitney Bridge near the Minneapolis Sculpture Garden and Walker Art Center.

Basilica of St. Mary
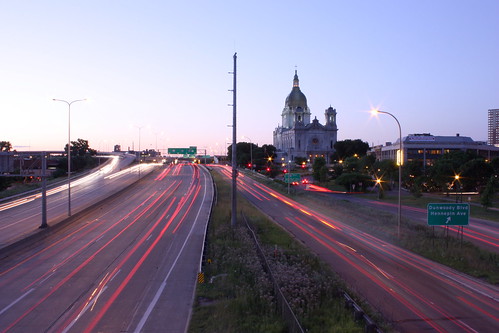
The photo above was meant to be similar to the daylight photo below. After I started snapping photos, though, I realized I was missing two whole streets with potential traffic and taillight trails, so I shifted the focus a little.

Interstate 94

Saturday, July 30, 2011

Shooting Lightning

Tonight I made my first attempt at capturing lightning in a photo. I would say it was a success. This first photo below was literally my first try at it and it turned out to be the best one of the night!

Lightning in Minnesota #1

It was easier than I expected it to be. I experimented with the instructions on this tips page from Lightning Photography. One thing I found difficult was getting the focus right because it was so dark and lightning is so fleeting.

Lightning in Minnesota #2
Extraneous clouds also made some photos look blurry simply because the exposure time was so long and there was so much lightning to illuminate the sky, the one could see how the cloud had moved while the shutter was open.
Lightning in Minnesota #3
This was exciting. I love storms and this was an amazing light show. I don't think I would have stopped to appreciate it as much if I hadn't been waiting for a good storm like this to try lightning photos. I look forward to trying this again in a different location besides my boring backyard. Take a look at some of the amazing photos at Lightning Photography to see what I mean.

Saturday, April 23, 2011

Lesson #5 ~ Underexposed, Overexposed - Mistakes Happen!

Mossy walls like this are fun to photograph because of the "landscapes" and textures they provide. I liked this spot below because of the water drip, but couldn't get the autofocus on my camera to capture just what I wanted.

Mossy Wall

Unfortunately, I sometimes forget to double-check the aperture and exposure time when I switch from auto to manual. This was one of those times! Ugh, some of the resulting photos were almost black. Big mistake. But after playing around with brightness, contrast and saturation settings, the result was actually pretty cool in appearance.

Mossy Wall ~ Underexposed

Something similar happened during my 365 project recently. I forgot entirely I had the camera set to manual and started snapping away without bothering to look at the viewfinder previews. Voila! Severely overexposed photos that ended up looking almost pure white. Again, I played with the settings, this time with an even more surreal result.

Robin Red Breast ~ 101/365 ~ 2011

The appearances of these last two photos is unique. It was fun to play with these mistakes. Had I been taking photos for anyone but myself, though, this would have been a problem. I must remember to pay closer attention when I change shooting modes.

Kinda strange that I hadn't done this sort of thing before, I guess that means previously I've been paying better attention when I switch between manual and auto, while these two times I didn't. The bird photo happened at the end of a long, exhausting walk and the moss photo troubles occurred because I was trying to maintain balance on a rocky slope - not exactly wandering around a formal affair snapping smiling faces. Still, now I know.

And knowing is half the battle.

Friday, December 3, 2010

Brightness & Saturation

I'm not real big on editing my photos, for the most part I like to leave them as they are except maybe to make play with brightness. My reasoning is brightness and contrast are things that could be adjusted in a dark room. More recently, though, I've been working with color saturation, too - something else a little time in a dark room can fix. Here are two photos from my Vegas vacation and road trip that I thought didn't quite look right and needed to be fixed.

Smoke Blotted Out the Sun {Before}

Smoke Blotted Out the Sun {Fixed}

Traveling through either Arizona or Utah, a tree-covered mountain was on fire. The smoke was so thick that it blotted out the sun. The first photo was way too dark. The sun struggled through the smoke, but it was slightly brighter than that. The sort-of eerie lighting of the second photo is way more accurate.

Smoked Out {Before}

Smoked Out {Fixed}

The same with this photo, it was just a little dark and needed help. When it comes to saturation, there is a fine line between enhancing and making the coloring look fake. For both of these photos, I made the minimal adjustments to saturation, brightness, and contrast to bring out some of the details and make them look more accurate to what I remember.

See more Vegas Vacation photos at Flickr and at True to Words Friday Photography - Vegas Vacation, Part I.

Saturday, January 30, 2010

Experiment: Shooting the Moon

One morning last March, I was awake at an incredibly early hour. We were in the middle of a deep-freeze and if it weren't for the fact the dogs needed to go outside, I would have stayed warm in my blankets. But I bundled up and brought them out anyway (my kingdom for a fenced backyard! See "Wish list" on my previous post). I looked up and saw an amazing moon halo and coronas, which I would not have seen had I not been awake that early and if it weren't so cold that ice crystals were forming in the air. It was so cool, but the crappy camera I had at the time didn't quite capture the look as well as I would have liked. I vowed with the new camera to get more pictures like them.

Friday night, I saw a different kind of moon halo caused by super-thin cloud cover. Snap, snap, snap! Pictures!

Moon Halo #1
Exposure:      8
Aperture:     f/22.0
Focal Length:     18 mm
Light Setting: Fluorescent Light (DOH!)

I was playing with the manual settings because the last time I took pictures of the night sky I used the Auto Focus and the results were less than stellar.

Moon Halo #2
Exposure:      6
Aperture:     f/14.0
Focal Length:     18 mm
Light Setting: Fluorescent Light (DOH!)

I was trying different apertures and exposures. I took about 10 pictures at different settings before I realized that I'd had the lighting set to fluorescent. Doh!

Moon Halo #3
Exposure:      6
Aperture:     f/14.0
Focal Length:     18 mm
Light Setting: Auto

So then I switched it to auto. I almost think the fluorescent setting was better because I like the blue-violet tinge to the sky. But the auto setting resulted in a more realistic look. Moon Halo #3 and #4 look slightly different because of shifts in cloud-cover.

Moon Halo #4
Exposure:      6
Aperture:     f/14.0
Focal Length:     18 mm
Light Setting: Auto

I feel these turned out better than the Orion pictures. Every time I play around with the camera, I try to explore more of the manual settings. I've read the manual for my camera, but I'm really one of those people who have to learn by doing. Having this blog to really examine what I'm doing helps because putting it in writing helps me remember, too! Then there are readers like Richard at Capturing Light and Rob at North Metro Photo who occasionally send me bits of wisdom. And other words of encouragement from people like Courtney at ThisisCourtney.com and J.J.S. at Shutteria.com make my day!  Totally digging this photo blogging thing! :)

Saturday, January 16, 2010

My Experiment with Orion

At the beginning of the year, I started a brand new project - a 365 project. That means I'm trying to take at least one picture every day for the entire year. Thursday was my birthday and as I shuffled back home from some drinks and karaoke with friends, I realized I hadn't taken a picture yet. What could I take a picture of? Its dark, it’s late, and this week's "assignment" is the color white. As I walked up the sidewalk, I looked up and saw Orion. Eureka!

I don't really know what quite possessed me to take a picture of a constellation. Maybe it was the Chuck Norris drinks punching the back of my head. But for some reason, the Orion constellation provides some sort of comfort to me. I've been looking up at it every winter for as long as I've been able to identify it in the night sky thanks to a high school astronomy class.

Orion Constellation ~ 14/365


The first one wasn't perfect, but I played around with my camera until I got a picture with which I was happy. You can quite clearly make out Betelgeuse and Belatrix, which make out his shoulders. And Alniltak, Alnilam, and Mintaka that make up his famous belt. Salph and Rigel make up his knees. The Orion Nebula is really bright. I even managed to somehow include his bow and the top of his sword! Not bad for not being able to see through my viewfinder (my LCD screen kept lighting up when I didn’t want it to, half blinding me when I snapped the shutter). Click through to my Flickr page and read the notes to see which stars are which.

I will try this again and see how good of a picture I can get.

Sunday, December 27, 2009

Experiment: Inspired by Light

So I wrote last week about how TCB is an amazing and inspiring Light Art Performance Photographer from the Twin Cities. Here are some of my own photos inspired by TCB's work.

Light Streamers

Now this isn't light art performance photography. This would probably be closer to light art. But in this case, instead of the subject moving and creating the light image, I made these pictures by moving the camera during the capture of a fixed light source.

Centripetal Light


In other words, I shook the camera in a calculated way while taking photos of my neighbors Christmas lights. Pretty cool, huh? It's amazing how another photographer's perspective and technique can add new angles and colors to your own.

Light Drizzle

Sara Duane-Gladden is a freelance writer and photographer in the Twin Cities area of the great state of Minnesota.

Saturday, October 3, 2009

Experimental Chess Game

It has been wet and rainy outside to pursue the photo-hikes that I wanted to this week. It probably turned out better that way, because I got a lot of work done. Now I'm writing a new blog post while I wait until its time to go see the Minnesota Twins play one of their final games in the Metrodome against the Kansas City Royals. GO TWINS!

Anyways, earlier this week I took some pictures of chess pieces in a simple assignment I gave myself to practice the manual controls on my camera. Afterward, I thought it might be kind of cool to take pictures of a chess game. But chess games can take a lot of time and concentration as-is, no one is going to want to play with me if I tell them I'm taking photos of it. So I played a game against myself.

Light Captures Dark
The depth of field hints to the victor in each battle as the game progresses.

Dark Captures Light

It also hints to where the action is when a centered focus is used, with the foreground and background slightly blurry. I really liked how this experiment turned out.

Tight Battle
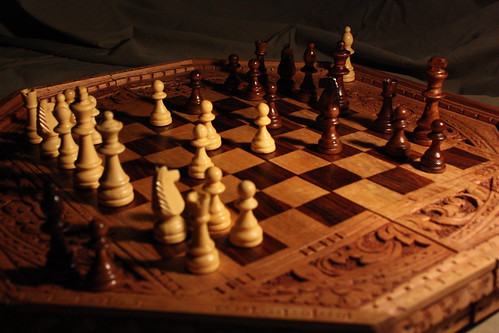
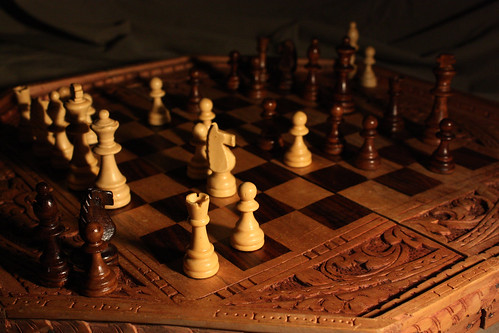
The only trouble I ran into is that in between thinking about the next moves I was going to make and taking the pictures in between, sometimes I would forget if I last moved a dark piece or a light piece. I think partway through the game, light was winning simply because it was closest to me and therefore ended up getting played more.

The End Draws Near
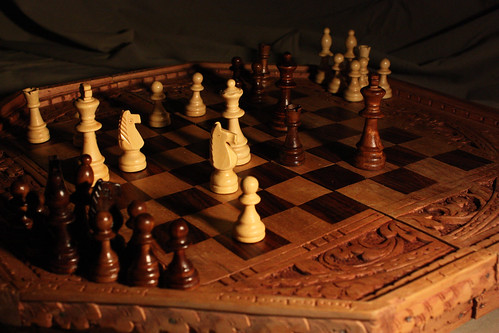
What's worse, it didn't end with a check-mate, it ended in a draw. But that wasn't as interesting of an ending, so I took some liberties.

Check and Mate
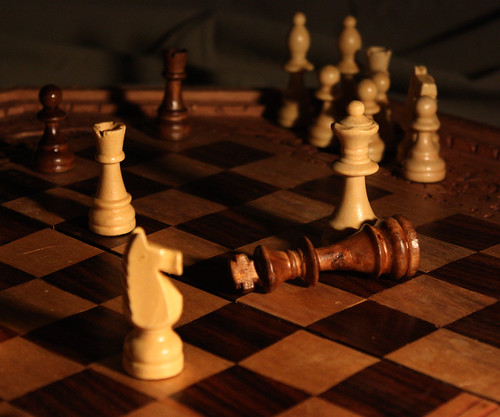
This was fun. I think I'll experiment with games more. I might have to play around with some others before I come back to chess, though.

Tuesday, September 22, 2009

First Experiment with Action Setting

Today, I did my first experimentation with the Action setting on my camera, or as I like to call it, the "little running man" setting. And boy, did I make a few discoveries. Not very many memorable pictures, though. Oh, but the discoveries.

Brandon Launches
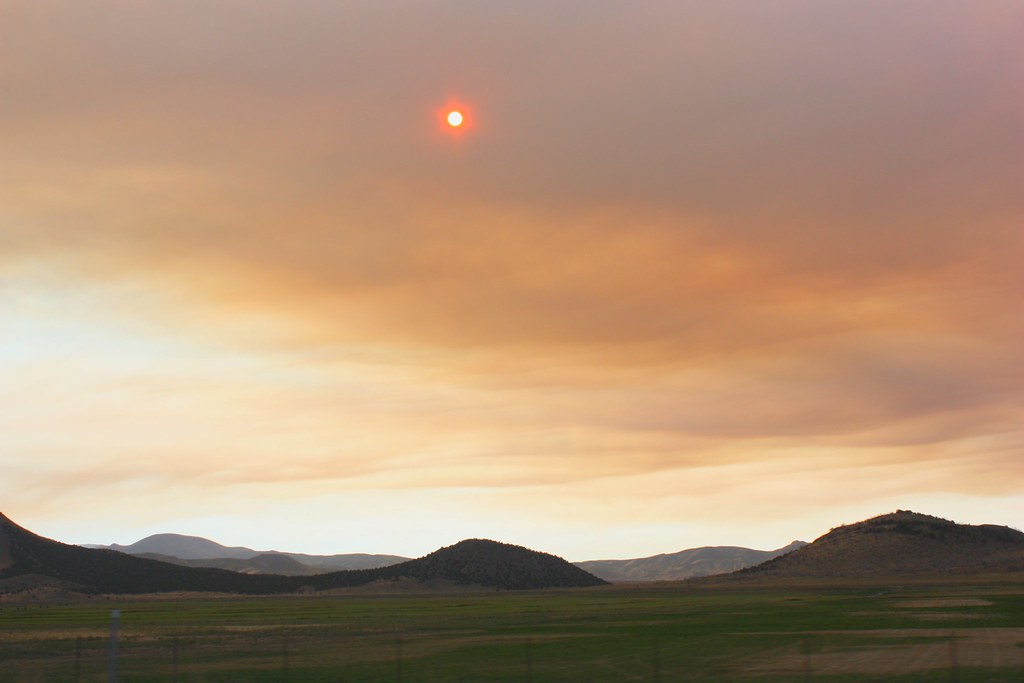
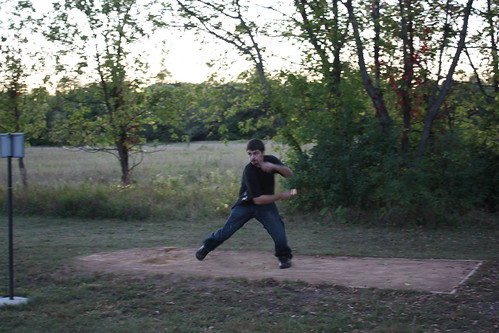
My first discovery was that the automatic action setting, or any multi-shot setting in which the camera continuously snaps pictures for as long as you hold the button, aren't going to do well in a lower-light setting. By choosing the "little running man" setting on the camera, I had all the "automatics" set: focus, light meter, aperture, time setting. Because the sun was going down, the lighting wasn't great and the shutter was trying to stay open longer to get fully exposed images, while also trying to snap continuously. The result is not the crisp, clear pictures for which I was hoping.
Long Shot
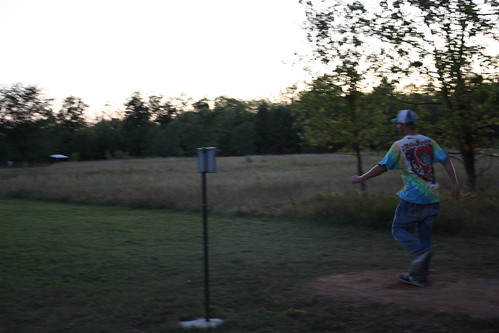
This led me to discovery two, which was that I could make some adjustments to that by playing around with the manual multi-shot settings, changing the aperture myself. I had some results on test shots, but while waiting for more Wright County Disc Golf League members to get to the open and brighter area I was in, it got too dark to take any more pictures. I guess I'll have to show up earlier next week.
Disc Golf at Dusk
The rest of the disc golf photo set.